
Contents
はじめに
firebaseシリーズに一区切りをつけます。
拙稿のリンク
https://github.com/mayarin/firebase-sample
この後の実装予定と、それを満たす為に使うサービス
- 自身のプロフィールの画像を追加 → Cloud Storage(この記事で紹介します)
- リアルタイムチャット → Cloud Firestore(次の記事にまたがります)
実装を行います
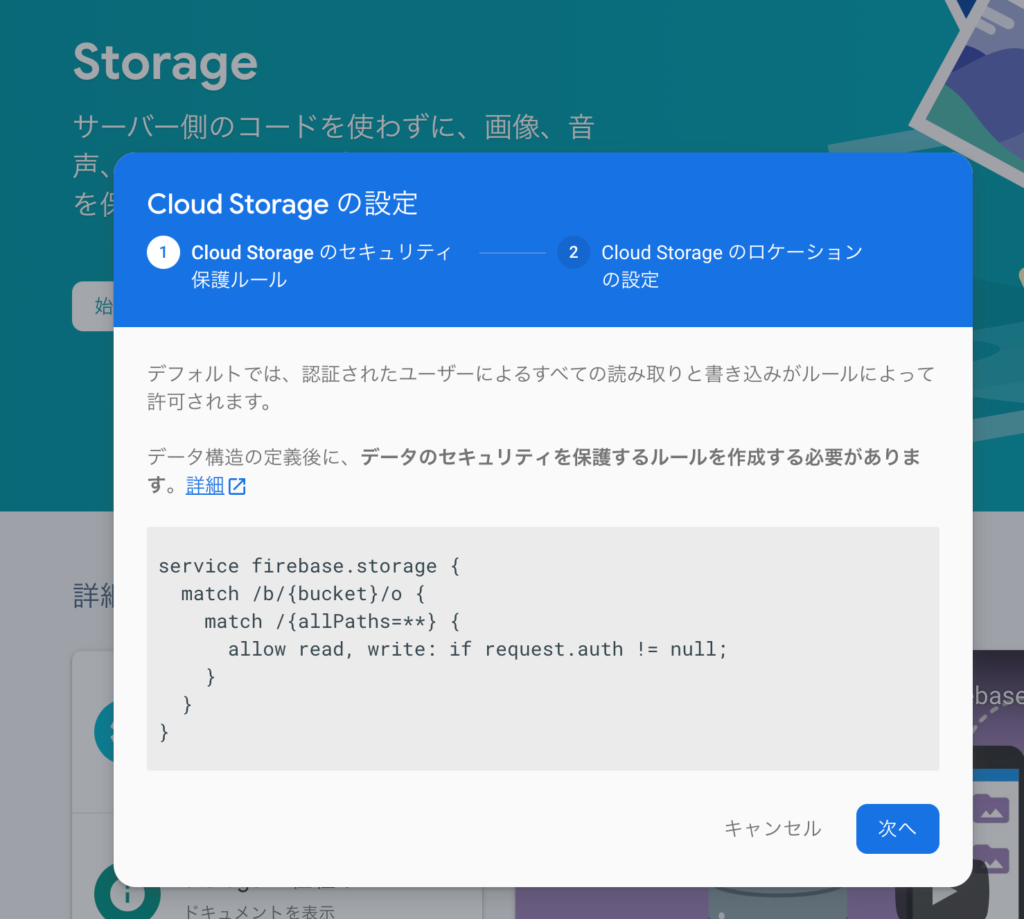
まずCloud Storageを準備します。
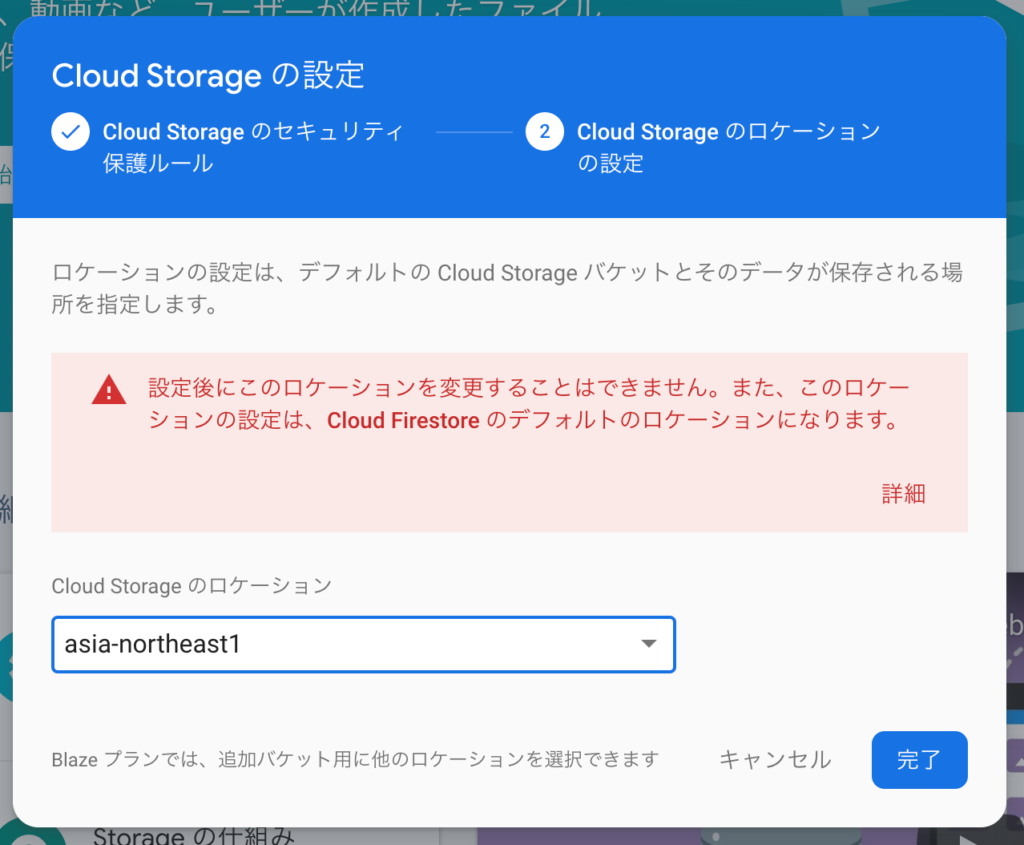
ロケーションを設定。
次にアップロードする実装を入れます。
こんな感じにしました。
ここで一旦公式を参照し、Storageへアップロードさせる実装を入れます。
https://firebase.google.com/docs/storage/web/upload-files
あぁそうでした。利用するjs群に以下を追加します。
<script src="/__/firebase/7.22.0/firebase-storage.js"></script>
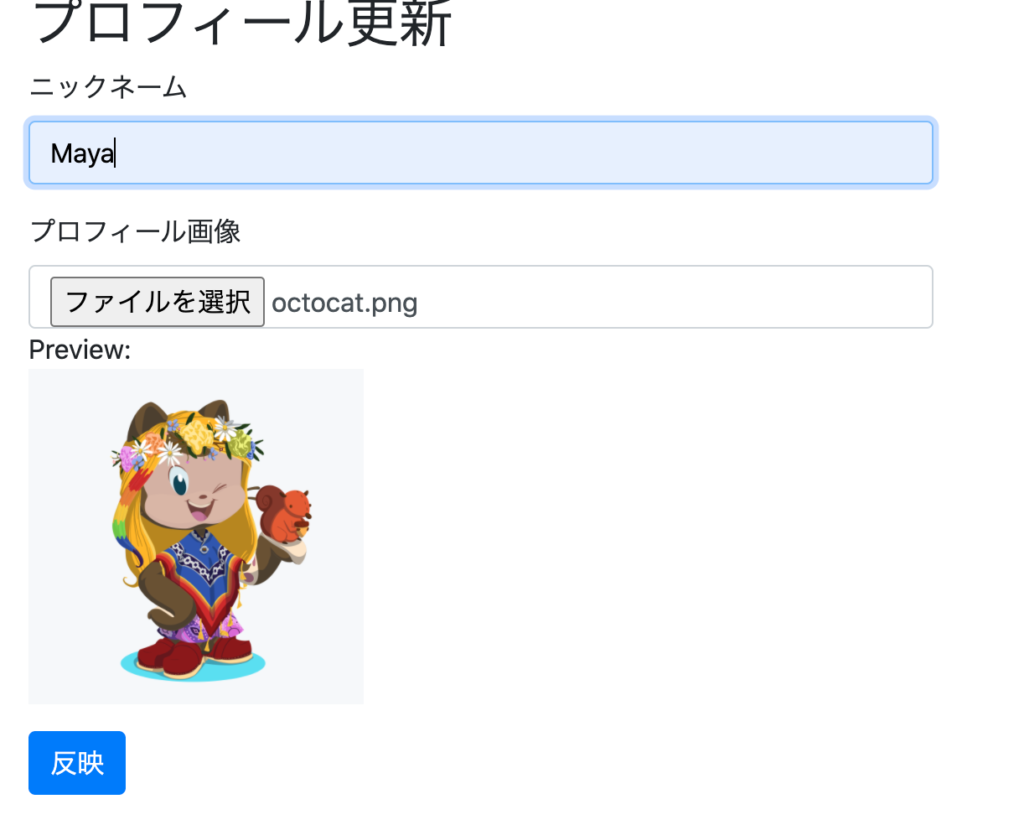
以下の実装にて画像が反映されるのを確認しました。
なおCSSなどはgitにて確認ください。
// プロフィール更新
document.querySelector("#update_form").addEventListener("submit", function(event) {
  if(confirm('プロフィールを更新します。よろしいですか?')){
    document.querySelector('#update_form button').setAttribute('disabled', true);
    document.querySelector('#update_form button').innerText = '反映中...';

    var user = firebase.auth().currentUser;
    var photoURLElement = getElemID('update_picture').files;

    // 先に画像がアップロードされているかを判別
    if(photoURLElement.length > 0){
      // 画像がある場合は画像をアップロードしてから user.updateProfile を発火させる
      console.log(photoURLElement.length);
      for(var i=0;i<photoURLElement.length;i++){
        var file = photoURLElement[i];
          var userName = user.uid+'_'+file.name;
          console.log(userName);
          var storageRef = firebase.storage().ref(userName);
          var uploadTask = storageRef.put(file);
          uploadTask.on('state_changed', function(snapshot){
            // Observe state change events such as progress, pause, and resume
            // Get task progress, including the number of bytes uploaded and the total number of bytes to be uploaded
            var progress = Math.ceil((snapshot.bytesTransferred / snapshot.totalBytes) * 100);
            document.querySelector('#update_form button').innerText = '反映中...'+progress+'%';

            switch (snapshot.state) {
              case firebase.storage.TaskState.PAUSED: // or 'paused'
                console.log('Upload is paused');
                break;
              case firebase.storage.TaskState.RUNNING: // or 'running'
                console.log('Upload is running');
                break;
            }
          }, function(error) {
            // Handle unsuccessful uploads
            alert('画像のアップロードに失敗しました。お手数ですが少々時間を置いてから試してください。');
          }, function() {
            // Handle successful uploads on complete
            // For instance, get the download URL: https://firebasestorage.googleapis.com/...
            uploadTask.snapshot.ref.getDownloadURL().then(function(downloadURL) {
              console.log('File available at', downloadURL);
              updateProfile(downloadURL);
            });
          });
      }
    } else {
      // 画像がない場合は間髪入れずに user.updateProfile を発火させる
      updateProfile(user.photoURL);
    }
  }
  event.preventDefault();
}, false);

function updateProfile(photoURL){
  var user = firebase.auth().currentUser;
  var displayName = getElementValue('update_displayName');

  user.updateProfile({
    displayName : getElementValue('update_displayName'),
    photoURL : photoURL
  }).then(function() {
    alert('プロフィールを更新しました。');
    location.reload();
  }).catch(function(error) {
    var errorCode = error.code;
    var errorMessage = error.message;
    alert(errorCode + ', ' + errorMessage);
  });

  document.querySelector('#update_form button').removeAttribute('disabled');
  document.querySelector('#update_form button').innerText = '反映';
}
<form id='update_form'>
<h2>プロフィール更新</h2>
<div class="form-group">
<label for='update_displayName'>ニックネーム</label>
<input type="text" class="form-control col-4" id='update_displayName' placeholder='ニックネーム...'/>
</div>
<div class="form-group">
<label>プロフィール画像</label>
</div>
<div class="form-group">
<label for='update_picture'><span class='btn btn-primary'>画像を選択...</span>
<input type="file" class="form-control col-4 d-none" id='update_picture' placeholder='プロフィール画像...' onchange='previewImage(this)' />
<p>
Preview:<br>
<img id="preview" src="./unnamed.png" class='profile_picture'>
</p>
</label>
</div>
<div class="form-group">
<button class="btn btn-primary" type='submit'>反映</button>
</div>
</form>ここまでの実装を確認したところでfirestoreを作ります。
なおfirestore側からUI整えて完成させてから投稿しようと思ったんですが、時間が空きSEO的によろしくないので投稿を分けます…!
To Be Continued …!
参考サイト
https://blog.ver001.com/javascript_preview_canvas/
https://q-az.net/none-jquery-addclass-has-remove-toggle/
https://qiita.com/yama04070319/items/ef21608fd9c3913b8d89
https://www.nishishi.com/css/trim-image-to-circle.html
https://www.naishare.com/blog/how-to-upload-files-to-firebase-cloud-storage-using-javascript